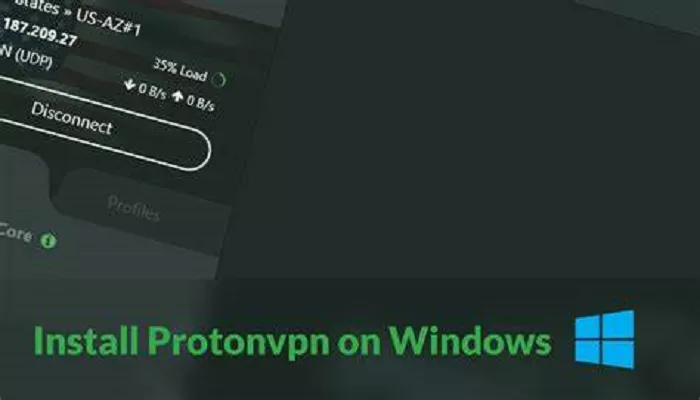
ProtonVPN is a reputable Virtual Private Network (VPN) service that prioritizes user privacy and security. Developed by the team behind ProtonMail, it offers both free and premium plans to cater to diverse user needs. Setting up ProtonVPN on your Windows 10 device is a straightforward process. This guide will walk you through each step, ensuring you can browse the internet securely and privately.
Creating a ProtonVPN Account
To begin using ProtonVPN, you’ll first need to create an account:
- Visit the ProtonVPN Website: Navigate to ProtonVPN’s official website.
- Sign Up: Click on the “Get ProtonVPN Free” button to access the free plan.
- Fill in Your Details: Provide a username, password, and email address.
- Verify Your Account: Choose your preferred verification method (email or SMS), enter the received code, and complete the verification process.
Downloading and Installing ProtonVPN on Windows 10
Once your account is set up, you can download and install ProtonVPN:
- Log In: After verification, log in to your account on the ProtonVPN website.
- Access Downloads: Navigate to the “Downloads” section and select “Windows” to download the installer.
- Run the Installer: Locate the downloaded file and run the installer. Follow the on-screen prompts, such as selecting the installation language (note that Japanese is not supported, so proceed with English), choosing the installation directory, and completing the installation.
Launching and Using ProtonVPN
After installation, you can start using ProtonVPN:
- Open the Application: Launch ProtonVPN from your desktop or start menu.
- Log In: Enter your ProtonVPN credentials to access your account.
- Connect to a Server: On the main screen, you can use the “Quick Connect” feature to automatically connect to the fastest available server, or manually select a server by browsing the list of available countries and clicking “Connect” next to your chosen server.
Exploring Advanced Features
ProtonVPN offers several advanced features to enhance your VPN experience:
- Auto-Connect: Set ProtonVPN to automatically connect to a VPN server upon application launch or Windows startup.
- Kill Switch: This feature blocks all internet traffic if the VPN connection drops, preventing data leaks. To enable:
- Click on the “Kill Switch” icon within the app.
- Toggle the switch to activate.
- Split Tunneling: Allows you to choose which applications use the VPN connection. To configure:
- Navigate to “Settings” > “Advanced.”
- Enable “Split Tunneling.”
- Select the applications you wish to route through the VPN.
- Secure Core: Enhances privacy by routing your connection through multiple servers. To use:
- Click on the “Secure Core” icon.
- Select your desired Secure Core server location.
- Connect to your chosen server.
Ensuring Your Connection is Secure
To verify that your VPN connection is secure:
Check for DNS Leaks: Visit ipleak.net while connected to ProtonVPN. Your IP address and DNS servers should correspond to your chosen VPN server location, confirming that your connection is secure.
Troubleshooting Common Issues
If you encounter issues while using ProtonVPN:
- Connection Problems: Ensure that your internet connection is stable and that ProtonVPN is updated to the latest version.
- Server Selection: If a particular server is slow or unresponsive, try connecting to a different server in the same country or region.
- Firewall Interference: Some firewalls may interfere with VPN connections. Temporarily disable your firewall to test the connection, and adjust firewall settings if necessary.
Conclusion
Setting up ProtonVPN on your Windows 10 device is a simple process that significantly enhances your online privacy and security. By following the steps outlined above, you can ensure a secure and private browsing experience. Remember to explore ProtonVPN’s advanced features to tailor your VPN usage to your specific needs.

