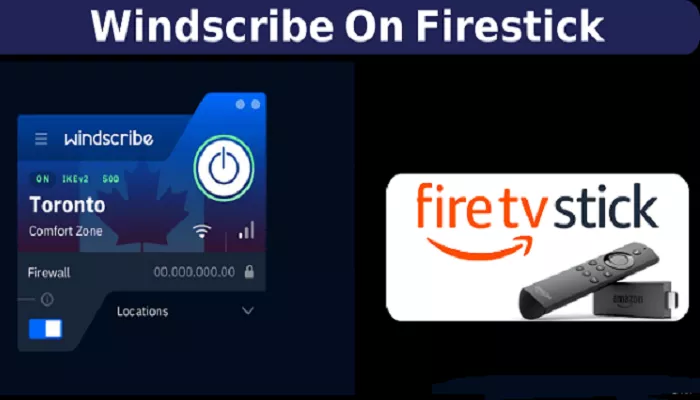
Windscribe is a popular VPN service that enhances your online privacy and security by encrypting your internet connection. Installing Windscribe on your Amazon Firestick allows you to access geo-restricted content, maintain anonymity, and safeguard your data while streaming. This guide provides a step-by-step walkthrough on how to install and set up Windscribe VPN on your Firestick device.
Prerequisites
Before proceeding with the installation, ensure you have the following:
- Amazon Firestick Device: A Firestick (2nd generation or newer) connected to your TV.
- Amazon Account: Access to your Amazon account to download apps from the Amazon Appstore.
- Windscribe Account: A Windscribe VPN account. If you don’t have one, you can create it during the setup process.
Step 1: Prepare Your Firestick
- Power On Your Firestick: Connect your Firestick to your TV and ensure it’s powered on.
- Navigate to the Home Screen: Use your Firestick remote to go to the home screen.
- Access the Search Function:
- Navigate to the “Find” section at the top of the screen.
- Select the “Search” option (magnifying glass icon).
Step 2: Install Windscribe VPN
Search for Windscribe:
-
- In the search bar, type “Windscribe” using the on-screen keyboard.
- Select “Windscribe VPN” from the search results.
Download the App:
-
- On the Windscribe VPN app page, click “Get” or “Download” to install the application.
- Wait for the installation to complete.
Open the App:
-
- Once installed, select “Open” to launch the Windscribe VPN app.
Step 3: Set Up Windscribe VPN
Create or Log In to Your Account:
-
- If you’re new to Windscribe, select “Get Started” to create an account.
- Fill in the required fields:
- Username: Choose a unique username.
- Password: Create a strong password.
- Email (Optional): Provide an email address to receive additional benefits like increased data allowance.
-
- After filling in the details, click “Sign Up”.
- If you already have an account, select “Login” and enter your credentials.
Grant Necessary Permissions:
-
- Windscribe may request certain permissions to function correctly.
- When prompted, click “OK” to grant these permissions.
Step 4: Connect to a VPN Server
Select a Server Location:
-
- On the main screen, you’ll see a list of server locations.
- Use the remote to navigate through the list.
- Select your desired country and city.
Connect to the VPN:
-
- After selecting a server, click the “Connect” button.
- The app will establish a secure connection.
- Once connected, the status will change to “CONNECTED”, and the interface will turn blue.
Step 5: Configure Additional Settings (Optional)
Windscribe offers various settings to enhance your VPN experience:
Access Settings:
-
- From the main screen, click the menu icon (three horizontal lines) to open the sidebar.
- Select “Settings”.
Explore Features:
-
- R.O.B.E.R.T: Blocks ads, trackers, and malware.
- Split Tunneling: Allows you to choose which apps use the VPN connection.
- Double Hop: Routes your connection through two servers for enhanced privacy.
- Time Warp: Changes your device’s time zone to match the server’s location.
Enable Desired Features:
-
- Toggle the switches to enable or disable features as per your preference.
Troubleshooting Tips
- App Not Found: If you can’t find the Windscribe app in the Amazon Appstore, ensure your Firestick is updated to the latest software version.
- Connection Issues: If you experience connectivity problems, try connecting to a different server or restarting the app.
- Performance Concerns: For optimal streaming performance, connect to servers closer to your physical location.
Conclusion
Installing Windscribe VPN on your Firestick enhances your streaming experience by providing privacy, security, and access to geo-restricted content. By following the steps outlined above, you can easily set up Windscribe on your Firestick and enjoy a safer, more versatile streaming environment.

