Setting up a VPN on your TP-Link router is a great way to secure all devices connected to your home network. Surfshark VPN offers robust security features and is compatible with many TP-Link router models. This guide will walk you through the steps to configure Surfshark VPN using both WireGuard and OpenVPN protocols.
Why Use Surfshark VPN on a TP-Link Router?
Using Surfshark VPN on your TP-Link router ensures that all devices connected to your network are protected. This includes devices that don’t support VPN apps, like smart TVs and gaming consoles. Surfshark offers unlimited device connections, strong encryption, and features like a kill switch and DNS leak protection.
Check Router Compatibility
Before proceeding, ensure your TP-Link router supports VPN client functionality. Models that support OpenVPN or WireGuard protocols are compatible. You can check your router’s specifications on the TP-Link website or refer to the user manual.
Setting Up Surfshark VPN Using WireGuard
Step 1: Obtain WireGuard Configuration Files from Surfshark
- Log in to your Surfshark account on the Surfshark website.
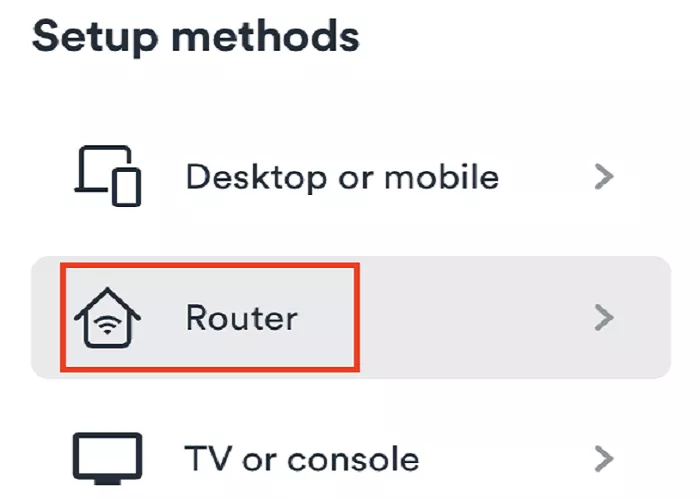
- Navigate to VPN > Manual Setup > Router.
- Select WireGuard and generate a new key pair.
- Choose your preferred server location and download the .conf configuration file.
Step 2: Configure WireGuard on TP-Link Router
- Log in to your TP-Link router’s web interface.
- Go to Advanced > VPN Client and enable the VPN Client option.
- In the Server List section, click Add and select Set up manually.
- Choose WireGuard, provide a description, and import the .conf file obtained earlier.
- Save the settings and connect to the VPN server.
Setting Up Surfshark VPN Using OpenVPN
Step 1: Obtain OpenVPN Configuration Files from Surfshark
- Log in to your Surfshark account on the Surfshark website.
- Navigate to VPN > Manual Setup > Router.
- Select OpenVPN and download the .ovpn configuration file for your desired server location.
- Note your Surfshark service credentials (username and password) provided on the same page.
Step 2: Configure OpenVPN on TP-Link Router
- Log in to your TP-Link router’s web interface.
- Go to Advanced > VPN Client and enable the VPN Client option.
- In the Server List section, click Add and select Set up manually.
- Choose OpenVPN, provide a description, and enter your Surfshark service credentials.
- Import the .ovpn file obtained earlier.
- Save the settings and connect to the VPN server.
Managing Connected Devices
Once the VPN is set up on your TP-Link router, all devices connected to the router will use the VPN connection. This includes smartphones, tablets, computers, smart TVs, and gaming consoles. There’s no need to install separate VPN apps on each device.
Troubleshooting Tips
- Ensure your internet connection is active before setting up the VPN.
- Double-check your Surfshark service credentials and configuration files.
- If the VPN connection fails, try selecting a different server location.
- Restart your router after configuring the VPN settings.
Conclusion
Setting up Surfshark VPN on your TP-Link router enhances your online privacy and secures all devices on your network. By following the steps outlined above, you can easily configure the VPN using either WireGuard or OpenVPN protocols. Enjoy a safer and more private internet experience across all your devices.

