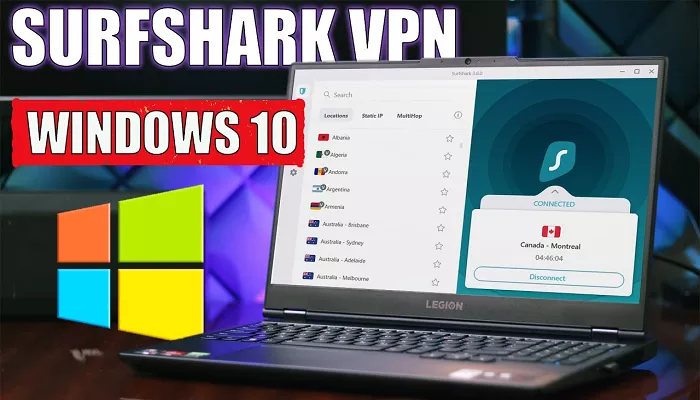
In today’s digital age, online privacy and security are paramount. Surfshark VPN offers a reliable solution to protect your data and maintain anonymity while browsing the internet. This guide will walk you through the steps to install, configure, and optimize Surfshark VPN on your Windows 10 device.
Why Choose Surfshark VPN for Windows 10?
- User-Friendly Interface: Surfshark’s Windows application boasts a clean and intuitive design, making it accessible even for VPN beginners.
- Robust Security Features: With AES-256 encryption, a strict no-logs policy, and additional tools like CleanWeb, Surfshark ensures your online activities remain private.
- Global Server Network: Access content from around the world with Surfshark’s extensive server network spanning over 100 countries.
- Unlimited Device Connections: Protect all your devices simultaneously with a single Surfshark subscription.
System Requirements
Before installing Surfshark VPN, ensure your system meets the following requirements:
- Operating System: Windows 10
- Internet Connection: Stable internet connectivity
- Administrator Rights: Necessary for installation and configuration
Step-by-Step Installation Guide
1. Download the Surfshark VPN Application
- Visit the official Surfshark website.
- Navigate to the ‘Downloads’ section and select the Windows version.
- Click on the ‘Download’ button to initiate the download process.
2. Install the Application
- Locate the downloaded installer file, typically found in the ‘Downloads’ folder.
- Double-click the installer to begin the installation process.
- If prompted by the User Account Control (UAC), click ‘Yes’ to allow the installation.
- Follow the on-screen instructions to complete the installation.
3. Launch and Log In
- After installation, launch the Surfshark application.
- Enter your Surfshark account credentials to log in.
- If you don’t have an account, you can create one directly from the application.
Connecting to Surfshark VPN
Quick Connect
- Upon logging in, click the ‘Quick Connect’ button.
- Surfshark will automatically connect you to the fastest and nearest server.
Manual Server Selection
- Click on the ‘Locations’ tab to view the list of available servers.
- Browse or search for a specific country or city.
- Click on your desired location to connect.
Exploring Surfshark Features
CleanWeb
- Blocks ads, trackers, and malware while browsing.
- To enable, go to ‘Settings’ > ‘Features’ > Toggle ‘CleanWeb’ on.
Kill Switch
- Automatically disconnects your internet if the VPN connection drops, ensuring your data isn’t exposed.
- Enable it by navigating to ‘Settings’ > ‘Connectivity’ > Toggle ‘Kill Switch’ on.
Whitelister (Bypasser)
- Allows specific apps or websites to bypass the VPN connection.
- Configure it under ‘Settings’ > ‘Features’ > ‘Whitelister’.
MultiHop
- Routes your connection through two different VPN servers for added security.
- Access it by clicking on ‘MultiHop’ in the main menu and selecting your preferred server pair.
Advanced Settings
Protocol Selection
- Choose between OpenVPN (UDP/TCP), IKEv2, or WireGuard protocols based on your needs.
- Navigate to ‘Settings’ > ‘Advanced’ > ‘Protocol’ to make your selection.
Auto-Connect
- Set Surfshark to automatically connect when your device starts or when you join untrusted networks.
- Configure this under ‘Settings’ > ‘Connectivity’ > ‘Auto-connect’.
Verifying Your Connection
- After connecting, visit Surfshark’s IP Leak Test page to ensure your IP address has changed.
- You can also perform a DNS leak test to confirm that your DNS queries are secure.
Troubleshooting Common Issues
Unable to Connect
- Ensure your internet connection is stable.
- Try switching to a different VPN protocol under ‘Settings’ > ‘Advanced’ > ‘Protocol’.
- Restart the Surfshark application or your device.
Slow Connection Speeds
- Connect to a server closer to your physical location.
- Use the ‘Fastest Server’ option for optimal speeds.
- Switch between different protocols to see which offers better performance.
Conclusion
Surfshark VPN provides a comprehensive suite of features to ensure your online activities remain private and secure on Windows 10. By following this guide, you can easily set up and optimize Surfshark to suit your needs. Whether you’re browsing, streaming, or working remotely, Surfshark offers the protection and flexibility you require.

