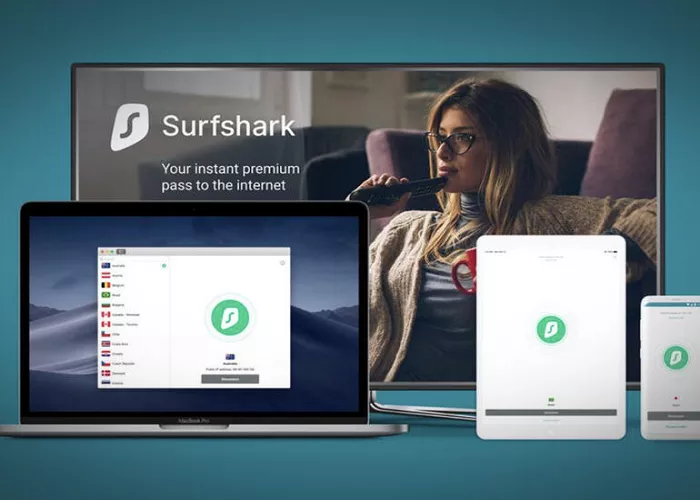
Surfshark VPN is a powerful and user-friendly tool that helps protect your online privacy and security. Whether you’re using a Windows or Mac laptop, Surfshark offers seamless integration and a host of features to enhance your internet experience. This guide will walk you through the process of setting up and using Surfshark VPN on your laptop, ensuring you can browse safely and access content from around the world.
What is Surfshark VPN?
Surfshark is a Virtual Private Network (VPN) service that encrypts your internet connection, hiding your IP address and protecting your data from potential threats. With over 3,200 servers in 100 countries, Surfshark allows you to access geo-restricted content, secure your online activities, and maintain privacy across all your devices.
Why Use Surfshark VPN on Your Laptop?
Using Surfshark VPN on your laptop offers several benefits:
- Enhanced Privacy: Encrypts your internet traffic, making it difficult for hackers or third parties to monitor your activities.
- Access to Global Content: By connecting to servers in different countries, you can bypass geo-restrictions and access content from around the world.
- Secure Public Wi-Fi Usage: Protects your data when connected to public Wi-Fi networks, preventing unauthorized access.
- Unlimited Device Connections: Surfshark allows unlimited simultaneous connections, so you can protect all your devices with a single account.
How to Set Up Surfshark VPN on Windows Laptop
Step 1: Download the Surfshark App
- Visit the Surfshark website and click on the “Download” button for Windows.
- If you’re using Windows 7 or 8, download the Windows Legacy version of the Surfshark app.
Step 2: Install the App
- Locate the downloaded file (usually in your “Downloads” folder) and double-click on it.
- Follow the on-screen instructions to install the app.
- Once installation is complete, the app will launch automatically.
Step 3: Log In to Your Account
- Open the Surfshark app.
- Click on “Log in” and enter your registered email address and password.
- If you have two-factor authentication enabled, enter the verification code sent to your device.
Step 4: Connect to the VPN
- On the main dashboard, click the “Quick Connect” button to connect to the fastest available server.
- To choose a specific server location, click on the “Locations” tab and select your desired country or city.
Step 5: Customize Settings (Optional)
Surfshark offers various features to enhance your VPN experience:
- CleanWeb: Blocks ads, trackers, and malware.
- Kill Switch: Disconnects your internet if the VPN connection drops, preventing data leaks.
- Bypasser: Allows specific apps or websites to bypass the VPN.
- Auto-connect: Automatically connects to the VPN when you start your device.
To access these settings, click on the gear icon in the app and navigate through the available options.
How to Set Up Surfshark VPN on Mac Laptop
Step 1: Download the Surfshark App
- Go to the Surfshark website and click on the “Download” button for macOS.
Step 2: Install the App
- Open the downloaded .dmg file and drag the Surfshark icon into your “Applications” folder.
- Launch the app from the “Applications” folder.
Step 3: Log In to Your Account
- Open the Surfshark app.
- Click on “Log in” and enter your registered email address and password.
- If two-factor authentication is enabled, input the verification code sent to your device.
Step 4: Connect to the VPN
- Click the “Quick Connect” button to connect to the fastest server.
- To select a specific server, click on the “Locations” tab and choose your preferred country or city.
Step 5: Customize Settings (Optional)
Surfshark’s macOS app offers similar features as the Windows version:
- CleanWeb
- Kill Switch
- Bypasser
- Auto-connect
Access these settings by clicking on the gear icon within the app.
Additional Features of Surfshark VPN
- MultiHop: Connect through multiple countries for enhanced security.
- Static IP: Use the same IP address each time you connect.
- NoBorders Mode: Access Surfshark in restrictive regions.
- Camouflage Mode: Hide the fact that you’re using a VPN.
- Rotating IP: Automatically change your IP address periodically without disconnecting.
These features can be accessed and configured within the app’s settings menu.
Conclusion
Using Surfshark VPN on your laptop is a smart and easy way to stay safe online. With features like CleanWeb, Kill Switch, and MultiHop, it provides strong protection and opens up access to global content. Whether you’re at home, at a coffee shop, or traveling, Surfshark ensures your personal data stays private and secure.
Its clean interface, strong encryption, and unlimited connections make it one of the best choices for laptop users. Even if you’ve never used a VPN before, Surfshark makes the process simple with its intuitive app and helpful support.
If you’re ready to take control of your online privacy and unlock a world of content, Surfshark is an excellent VPN to get started with.

